How I’d do this

Some of you may wonder why I bothered to criticize 🍎 after all they contributed. Could I show the relationship between an App, Scene & View better? I don’t know. But I can try. Let’s begin:

I had a quick fumble after believing I saw something wild, such as:

import SwiftUI

@main
struct SceneStartApp: App {
    var body: some Scene {
        WindowGroup {
            Text("Hello World")
        }
    }
}

which if you yourself try this will learn that this does not work 😅

Let’s conclude there are no ‘bounds’ for this Text View to be in. Since we cannot define where on the device to show our Text view, the app will crash.

Let us add bounds in our SceneStartApp, and change our Text into a Circle().

import SwiftUI

@main
struct SceneStartApp: App {
    var body: some Scene {
        WindowGroup {
            HStack {
                Circle()
                Circle()
                Circle()
            }
        }
    }
}

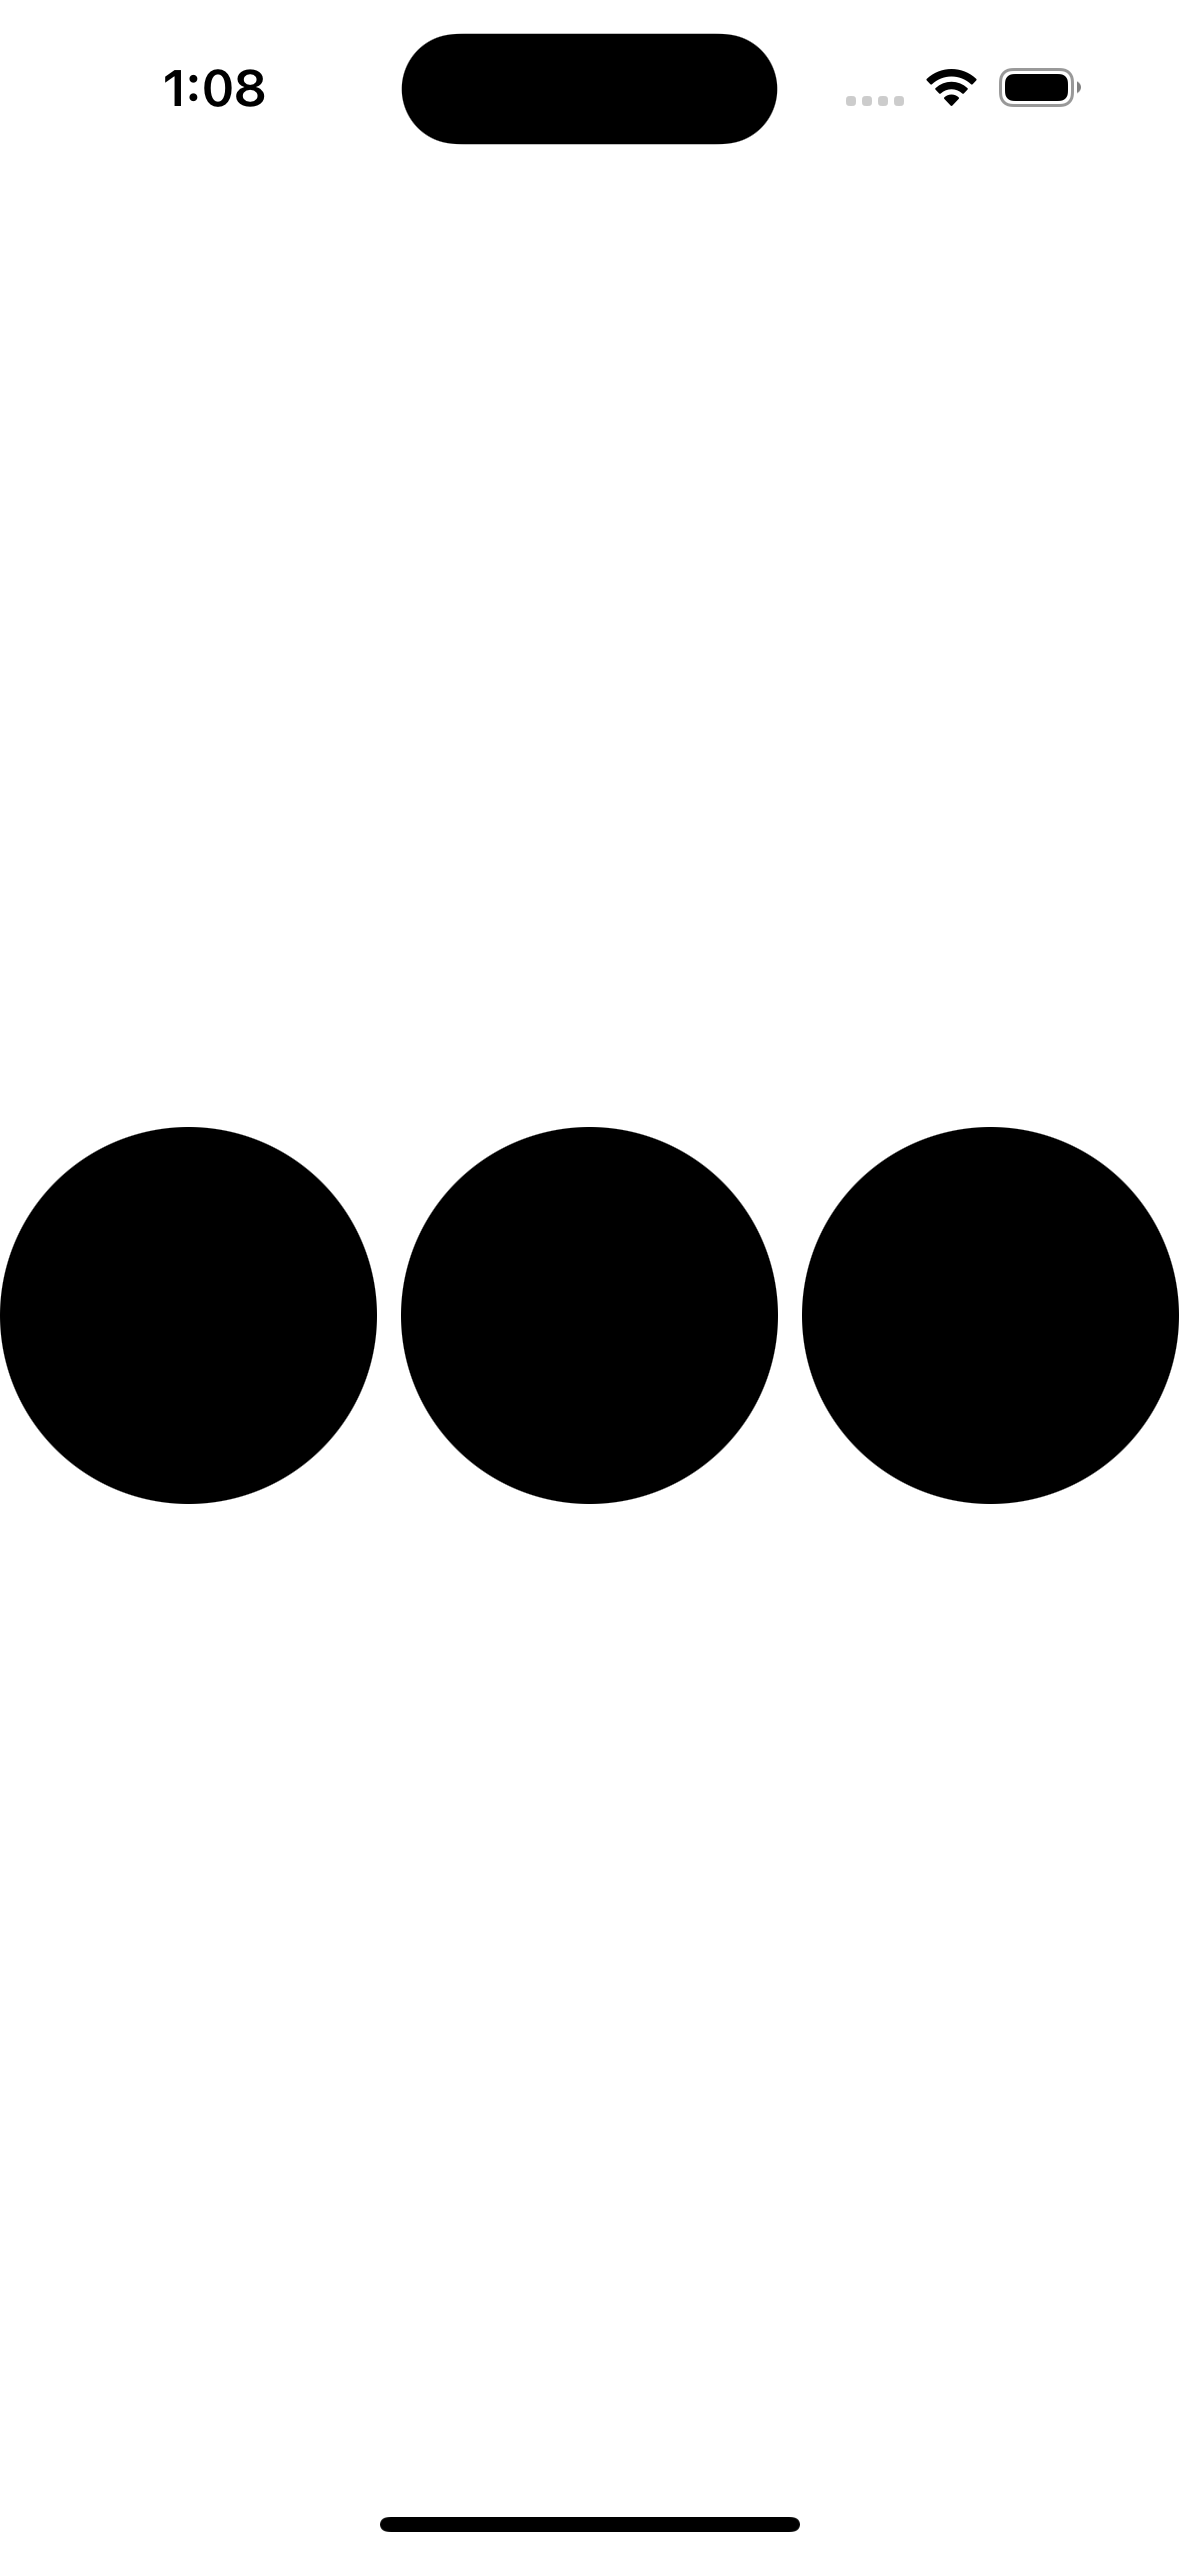
Changing the HStack also gave me new alignments, below are VStack & ZStack respectively.

The code for my circles never changed. The ZStack aligns our three circles on top so the user always looks down on them- or the orientation would be deep “inside” the phone, like marbles in the pocket.

One thing we are missing when we do this, is the preview window. I had to run the app 3 times to view what was created, which is not ideal. Let us now remove the three Circle() lines, put ‘ContentView()’ back and add below that line:

        ContentView()
            .onAppear(perform: {
                Task {
                    let urlString = "https://www.apple.com"
                    guard let url = URL(string: urlString) else { return }
                    let urlRequest = URLRequest(url: url)
                    let (data, response) = try await URLSession.shared.data(for: urlRequest)
                    print(data)
                    print(response)
                }
            })

The line right after ‘ContentView()’ is called a modifier, the contents of which will be run when our ContentView() is ready to appear. Inside the modifier, we create a Task, and inside of this we are creating a url String. We are going to take the String and make it into a URL object. The URL object next becomes a URL Request object. The URLRequest object is then passed to URLSession so we can receive the contents of that request. Finally, our data which is returned can be printed, and the response can be printed further below. The results of the print statements show up when we run the project:

189053 bytes
<NSHTTPURLResponse: 0x600000235300> { URL: https://www.apple.com/ } { Status Code: 200, Headers {
    "Cache-Control" =     (
        "max-age=0"
    );
    "Content-Encoding" =     (
        gzip
    );
    "Content-Length" =     (
        40058
    );
    "Content-Type" =     (
        "text/html; charset=utf-8"
    );
    Date =     (
        "Fri, 08 Nov 2024 20:20:38 GMT"
    );
    Expires =     (
        "Fri, 08 Nov 2024 20:20:38 GMT"
    );
    Server =     (
        Apple
    );
    "Set-Cookie" =     (
        "geo=US; path=/; domain=.apple.com"
    );
    "Strict-Transport-Security" =     (
        "max-age=31536000; includeSubdomains; preload"
    );
    Vary =     (
        "Accept-Encoding"
    );
    "content-security-policy" =     (
        "default-src 'self' blob: data: *.akamaized.net *.apple.com *.apple-mapkit.com *.cdn-apple.com *.organicfruitapps.com; child-src blob: mailto: embed.music.apple.com embed.podcasts.apple.com https://recyclingprogram.apple.com swdlp.apple.com www.apple.com www.instagram.com platform.twitter.com www.youtube-nocookie.com; img-src 'unsafe-inline' blob: data: *.apple.com *.apple-mapkit.com *.cdn-apple.com *.mzstatic.com; script-src 'unsafe-inline' 'unsafe-eval' blob: *.apple.com *.apple-mapkit.com www.instagram.com platform.twitter.com; style-src 'unsafe-inline' *.apple.com"
    );
    "referrer-policy" =     (
        "no-referrer-when-downgrade"
    );
    "x-cache" =     (
        "TCP_MEM_HIT from a23-196-2-157.deploy.akamaitechnologies.com (AkamaiGHost/11.7.0.1-2fb65fbfa7ad4f98bbb706cf20e2b5f6) (-)"
    );
    "x-content-type-options" =     (
        nosniff
    );
    "x-frame-options" =     (
        SAMEORIGIN
    );
    "x-xss-protection" =     (
        "1; mode=block"
    );
} }

All this happens when we are loading our ContentView, the system will make our Task go and hit apple.com, and return some information.

Standard

watchOS

It felt like I blinked & now the project is almost done!
In this lesson, we add a watchOS target to the app. I add mine to Spotz
I had some hiccups here.
Section 1 was fine, where we add the target
Section 2, where we link the files from iOS to watchOS, I had an error.
The Embedded Binary Certificate for the watch app was not in sync with the iOS app, as a result Xcode refused to build. Following the suggestion from the linked StackOverflow page helped me solve it.
The next issue was one of my own design 😅
‘Command CompileAssetCatalog failed with a nonzero exit code’
I had imported an image asset too large to be the icon (App icons should only be 1024×1024, this one was 1200×1200). In the past I don’t ever remember this being an issue, but lately Xcode is evolving and things that used to work before do not work today. Fixed the icon size, pressed CTRL-B & all went green.

Read up on how Label() & Text() differ. With Text, we just post that- text. A Label is a bit more robust as it will also post text, and also give an image. That’s pretty 😎

My challenge with the images from earlier came back to bite me again. The images did not render correctly, so I added a .scaleEffect modifier that took CGSize as a parameter. I set the CGSize to 0.7 width & height, that made the final product look better.

When I started updating beyond this screen, it looked worse 😅
I tried tinkering with .scaleEffect but the result made the image smaller, not the actual frame.
I dove down to CircleImage and reduced the frame from 250 to 200. It is not everything I want but it is better than earlier.

Moving forward, I had more challenges with sizing in this lesson, design is not my strength 😅
My solution is to shrink the frame, or wrap it in a ScrollView, and keep it moving 😤

The last part, they had us mock User Notification to go through the watch simulator. That was inspiring- in a way getting my feet wet in a framework that has been described to me as ‘challenging’. Well today I tinkered with it and received a good result.

Standard

UIKit X SwiftUI

What they have us do here is add a feature that has no SwiftUI API. That’s okay! They walk us through implementing the protocol which helps SwiftUI & UIKit frameworks ‘talk’ to each other.

This lesson is pretty important. Try to type everything out, as there are many moving pieces here.

UIPageViewController has a data source and a delegate.
The data source is responsible for ‘which item is supposed to be where in the list
The delegate allows the flow to be customized, ‘do you want to change how we turn the page?’
While I love this OG doc, some things have changed, such as the datasource is no longer optional.

During the tutorial, they guide us to create our own separate object to hold our data source, this is called the Coordinator. The Coordinator class is generated inside the UIViewControllerRepresentable struct.

UIPageViewController has page indicators at the bottom to display to the user how many ‘pages’ there are. The Coordinator class holds our UIPageViewController subclass and the view controllers it is meant to display. The data source has us implement two required functions:

Which View Controller should we display earlier?

func pageViewController(_ pageViewController: UIPageViewController, viewControllerBefore viewController: UIViewController) -> UIViewController?


Inside this function, we are thinking about the viewControllerBefore, as the parameter states. We want to make sure when we swipe back (or previous) we have a view to land on. We get the ‘index’ after returning the ‘firstIndex’ function on the ‘controllers’ array. We need to make sure we can receive a ‘firstIndex’ or we are tossing it all out by returning nil.
Next thing we do is check if the index is equal to zero, and if it is, we will ask to return the last controller in the array. Finally we will return one controller from the array, using the ‘index’ variable using subscript syntax.

Which View Controller should we display later?

func pageViewController(_ pageViewController: UIPageViewController, viewControllerAfter viewController: UIViewController) -> UIViewController?


This one is similar to above. Going the opposite direction, we want to see if there is a viewControllerAfter. We are checking that the ‘firstIndex’ is legit. If the index returned plus one is equal to the number of counts for controllers, well we don’t want that (feels like a crash 🌋)
If index could be zero, and the controllers.count is equal to one, we return that first controller.
Otherwise, we return the controller marked by the index from the array, offset by plus one.

This lesson gets me excited, because there are a few frameworks that haven’t received any love from SwiftUI (SpriteKit, SceneKit, ARKit 👀) and this lesson can help me think about how to fit these into an app I might want to build.

Okay- follow along a bit further and we create a new Coordinator. This time it implements the UIKit object UIPageControl. We use this as a design enhancement improving the UIPageViewController.

Hand-typing along is really cool- there are some autocomplete gotchas that showed up for me, when working the Coordinator in particular.

Standard

Swift & SwiftUI Tutorials from Apple

Good morning

When talking about Swift & SwiftUI with new learners, I often get asked ‘Where is the best source for learning it?” There are thousands of resources. First I want to start with the sources from Apple, which is all FREE

Develop In Swift Explorations
Develop In Swift Fundamentals
Develop In Swift Data Collections

The above books I became familiar with when I joined NYPL. While I worked there, I was trained using these materials. The resources above are primarily focused on UIKit, with small segments featuring SwiftUI. Swift Explorations & Fundamentals help learners understand the basics of Swift with UIKit, and Data Collections shares how to work with complex UIs, such as Table views & Collection views, animations, and network requests.

Introducing SwiftUI (Landmarks)
Develop Apps for Apple Platforms (Scrumdinger)
Learning SwiftUI (Concepts Tutorial)
Develop In Swift

The above websites I found while starting my SwiftUI journey. I think I had done Landmarks, later finding the Concepts Tutorial, then I learned of Scrumdinger, and finally Develop In Swift feels like the most recent, with tutorials on how to use SwiftData & visionOS.

It is a little confusing why 🍎 made so many (on SwiftUI), with little continuity between the lessons. Feels as though the four folks (or four teams) that made these would have benefitted had they worked together. My plan is to go through these lessons and document it here with my opinion.

Xcode & SwiftUI Resources

Did a quick search while waiting, I hadn’t realized I had skipped over 2 remaining sources from Apple:

Sample Apps Tutorials (Navigation, Presenting Content, Network requests, Gestures in SwiftUI, Displaying Photos & Machine Learning)
Swift.org– 5 different apps (Command-Line tool, a library, web service, iOS and macOS app, & embedded app for a microcontroller)

*October 8th update*
This Instruments Tutorial dropped (at least I was not aware of it when I started this idea, I learned of it from Twitter) and I believe it should be on this list

*December 26th update*
SwiftUI Pathway
All Pathways
Design, Swift, SwiftUI, Games, VisionOS & Distribution to the App Store

Standard